
Personalizing your interior decor doesn’t require a large budget or carpentry skills. A pot of paint, some leftover wood, a fabric salvaged from an old curtain: the starting point of a DIY decor project often lies in what you already own. The goal is not to redo everything, but to transform a few targeted elements so that your interior truly reflects your tastes.
Repurpose an existing piece of furniture instead of buying a new one
Do you have a dresser whose color no longer pleases you? Before replacing it, take the time to look at it differently. The structure matters more than the finish: a solid wood piece can easily withstand light sanding followed by two coats of acrylic paint.
Further reading : M for Home: 10 Tips to Personalize Your Interior!
The choice of color radically changes the perception of a piece of furniture. A matte white gives a sober Scandinavian look. A sage green or terracotta leans towards a warmer bohemian ambiance. The hue alone can reposition a piece of furniture within a decor style, without altering its shape.
To take it further, replace the original handles with brass, ceramic, or braided leather knobs. This detail, costing just a few euros each, has a disproportionate effect on the final result. Practical tutorials and ideas for customizing furniture are regularly shared on lesbricoleriesdenanie.fr, with approaches accessible even without a fully equipped workshop.
You may also like : How to Make Significant Savings with Your Pellet Stove: Tips and Advice
Repurposing also works for everyday objects. An old wooden ladder, simply sanded and fixed to the wall, becomes a towel rack or a support for hanging plants. A wine crate stacked horizontally serves as wall storage in an entryway.
Decorative painting on walls: accessible DIY techniques
Painting an entire wall remains the most effective gesture to transform a room. But personalization truly begins when you go beyond a uniform flat color.
Color blocking and geometric shapes
With masking tape and two contrasting shades, you can create sharp geometric shapes on a wall. Triangles, arcs, horizontal bands: masking tape replaces stencils and ensures clean lines without specific tools.
This technique mainly requires patience when applying the tape. Press firmly on the edges to avoid smudges, and remove it before the paint is completely dry. The result is a graphic wall that catches the eye without overwhelming the room.
Gradient effect with a roller
A wall gradient (from dark at the bottom to light at the top) creates an impression of depth, particularly suitable for small rooms. Two pots of the same color in different intensities are sufficient. Work in horizontal bands, blending the transition areas with a damp roller.
The finish doesn’t need to be perfect. A slight blur between the areas enhances the handcrafted look, which is what distinguishes DIY from an industrial finish.
Create a vertical garden or plant corner without drilling
Plants transform a space instantly. Have you ever noticed how a simple pot of fern placed on a shelf changes the atmosphere of a desk corner? The idea is to amplify this effect by grouping the plants together.
- Adhesive wall shelves support small terracotta pots and can be installed without drilling, ideal for rentals.
- Macrame hangers (made with cotton rope and three basic knots) allow for varying heights and occupy vertical space.
- A metal mesh panel fixed with adhesive hooks serves as a support for hanging pots, photos, or string lights.
Grouping plants in threes or fives creates a more refined composition than a solitary plant. Vary the sizes and textures of the foliage: a large trailing plant, a compact succulent, and a tall stem work well together.
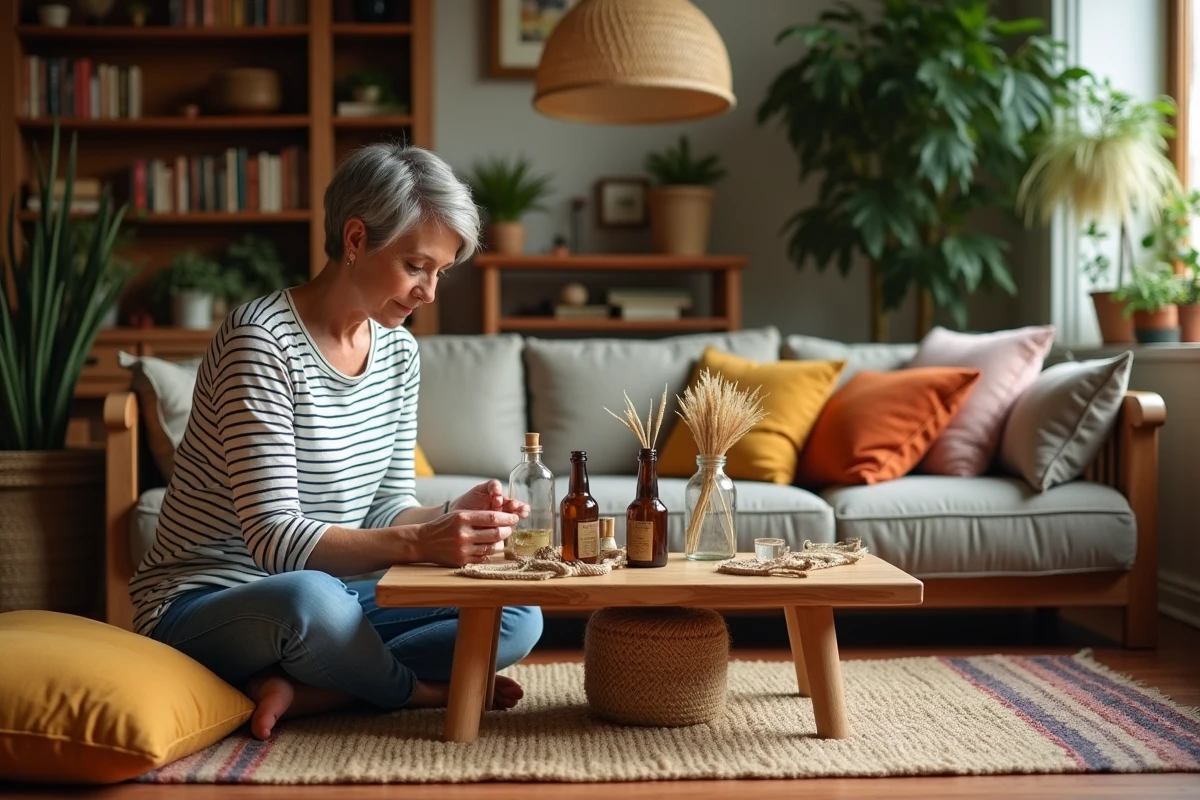
Textiles and paper: personalize without heavy work
Textiles are one of the most underestimated decor tools in DIY. Changing the cushion covers on a sofa takes ten minutes and instantly alters the ambiance of a living room.
To make your own covers, a piece of thick linen or cotton fabric, a pair of scissors, and fabric glue (no sewing machine needed) are sufficient. Cut a rectangle to the dimensions of the cushion with a fold-over margin, fold, and glue the edges. Fabric glue holds up in the wash and avoids any sewing.
Repositionable wallpaper is another quick option. Available in self-adhesive rolls, it can be applied to a portion of the wall (a headboard, a niche, a wall behind a shelf) and removed without damaging the surface. Floral patterns, tropical prints, or geometric designs allow you to introduce color without a permanent commitment.
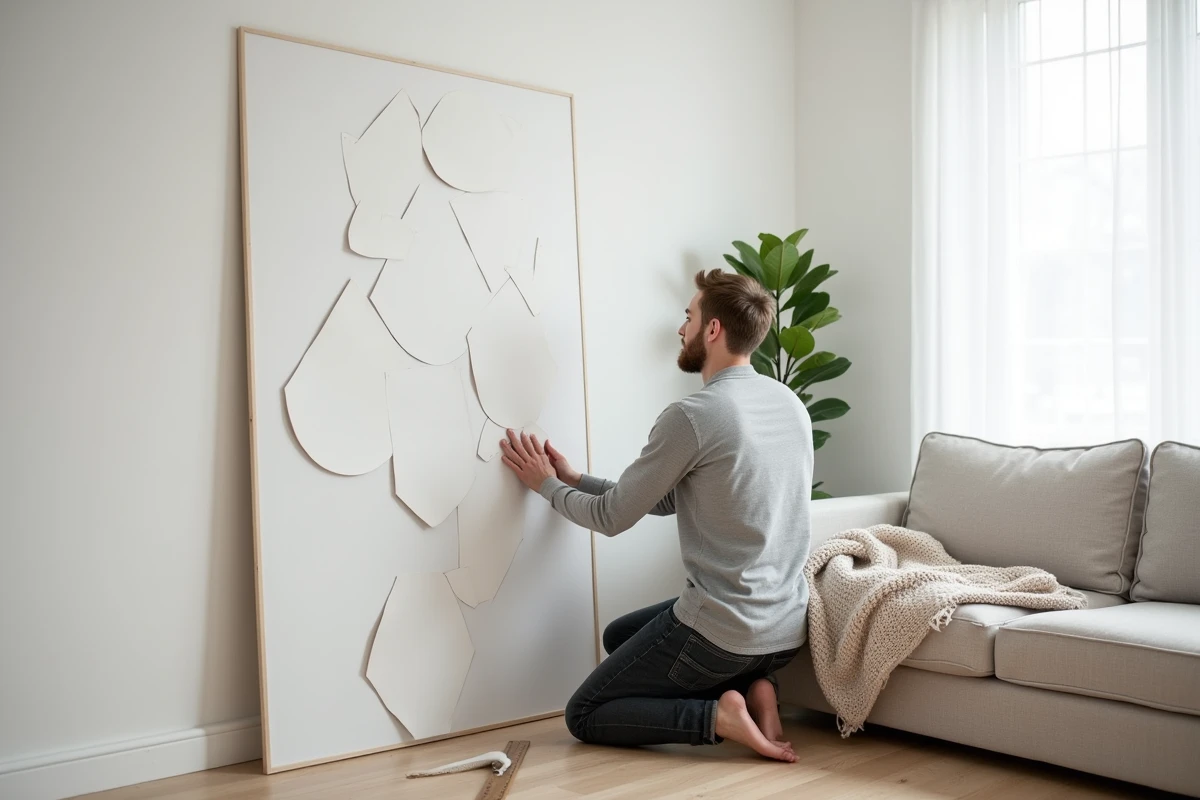
DIY frame with paper and wood
Framing a poster, a magazine page, or a piece of wallpaper in a frame made of raw wooden strips costs almost nothing. Cut four strips to the desired length, assemble them with wood glue and two small nails at each corner. An unvarnished raw frame adds a handcrafted look that pairs well with white or light walls.
Textile upcycling also works for curtains. An old cotton sheet, lightly dyed with tea or turmeric, gives a sheer curtain in natural tones. The result has character, and the process costs only the price of a box of tea.
Each project described here takes between thirty minutes and an afternoon. DIY decor works through the accumulation of small gestures: a repainted piece of furniture here, a transformed wall there, a few plants grouped differently. It is this gradual layering, tailored to your current desires, that ultimately gives an interior its unique personality.